Selling your home in Dallas can feel simple at first. Put it on the market, get an offer, and move, right? In reality, today’s market rewards the sellers who plan ahead, price carefully, and prepare their home with intention. This guide walks you through a practical Dallas home selling timeline and checklist so you know what to do, when to do it, and how to avoid common last-minute stress. Let’s dive in.
Understand the Dallas timeline
If you are hoping for a lightning-fast sale, it helps to reset expectations. Redfin’s Dallas market data shows homes in Dallas took about 75 days on market in February 2026, while local county-level reporting also points to homes selling in weeks, not days.
That does not mean your home will take that long. It means Dallas is no longer a one-size-fits-all, frenzy market. Conditions can vary by price point, neighborhood, condition, and buyer demand, so your best strategy is to prepare early and price based on current local comps, not a broad metro headline.
Best time to list in Dallas
If you have flexibility, timing can help. Zillow’s 2026 analysis places Dallas’s best local listing window in the second half of April, with an estimated 1.6% premium on a typical home.
Even so, spring is not a magic button. Mortgage rates, inventory levels, and neighborhood-specific demand can all shift the best listing window, which is why your selling timeline should start months before your ideal launch date.
3 to 4 months before listing
This is your planning phase. According to Zillow’s seller timing guidance, many homeowners begin thinking about selling three to four months before they list.
At this stage, focus on the big picture. You want a target move date, a realistic sense of your likely proceeds, and a plan for where you are going next if you are also buying.
Early planning checklist
- Set your ideal listing date
- Estimate your moving timeline
- Think through your next housing plan
- Review current Dallas market conditions
- Start interviewing real estate professionals
- Ask for a pricing strategy based on nearby comparable sales
A process-driven team can help you map this out clearly, especially when timing a sale and purchase together.
6 to 8 weeks before listing
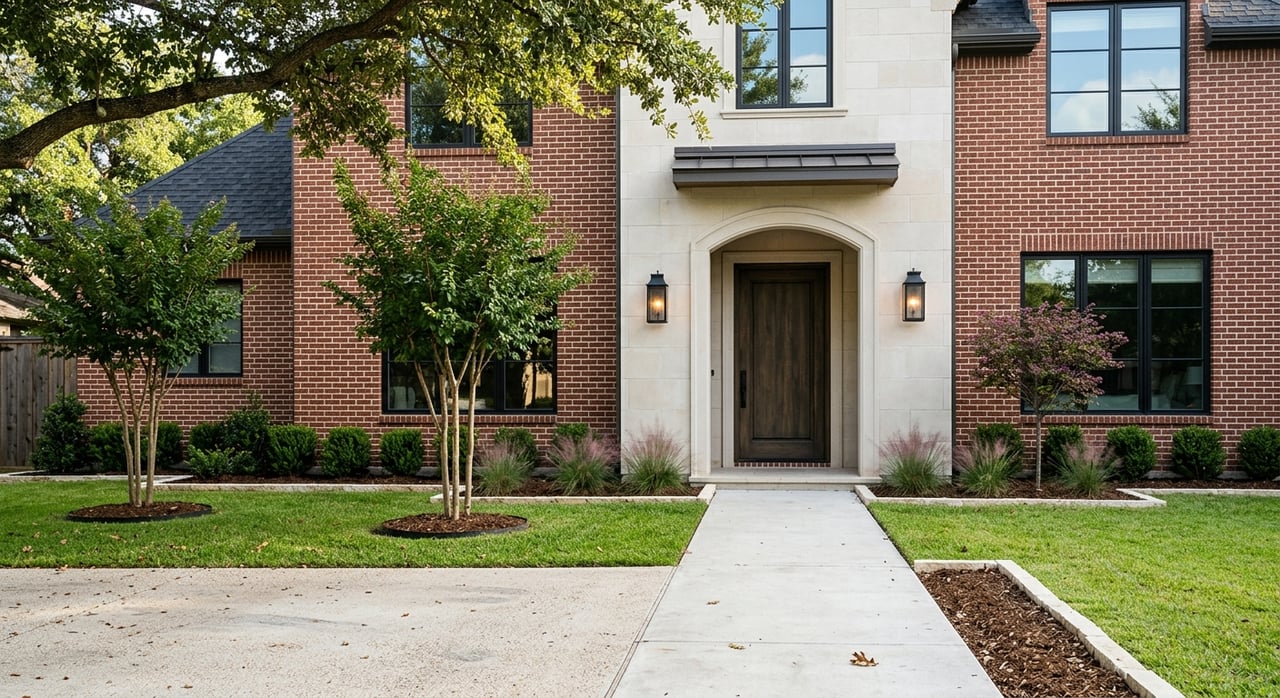
This is when preparation becomes visible. The National Association of Realtors consumer guide recommends focusing on meaningful repairs, cleaning, decluttering, and curb appeal instead of diving into major remodels.
You may also want to consider a pre-sale inspection. NAR notes that it is not required, but it can uncover issues with the roof, HVAC, plumbing, electrical systems, or structure before a buyer does.
Repair and prep checklist
- Fix significant issues that could affect buyer confidence
- Prioritize roof, HVAC, plumbing, electrical, and structural concerns
- Deep clean the home
- Declutter closets, counters, and storage areas
- Refresh landscaping and exterior appearance
- Skip major renovations unless they solve a real marketability problem
The goal is not perfection. The goal is to present a home that feels well maintained, clean, and ready for the next owner.
1 month before listing
Now it is time to make the home feel more open. Zillow’s home selling timeline recommends starting to move out gradually, using storage if needed, and removing extra furniture and personal items.
This step matters because buyers want to picture themselves in the space. Too many personal items or crowded rooms can make that harder, especially online where first impressions happen fast.
Decluttering checklist
- Remove excess furniture
- Pack personal photos and keepsakes
- Clear garage and storage areas
- Organize closets and cabinets
- Store off-season items
- Create clean, open sightlines in main living spaces
2 to 3 weeks before listing
This is the final setup stage before your home goes live. Zillow recommends staging and reviewing your financial picture, while NAR advises sellers to gather manuals, warranties, and guarantees for systems and appliances that will stay with the home.
This is also a good time to confirm your pricing strategy. In a Dallas market that can vary from one area to another, the right list price is one of the most important decisions you will make.
Pre-listing launch checklist
- Stage key rooms for photos and showings
- Gather appliance manuals and system warranties
- Confirm estimated closing costs and net proceeds
- Review your final list price strategy
- Finish touch-up cleaning and minor cosmetic fixes
1 week before listing
Your online presentation comes next. According to Zillow’s timeline guidance, this is the ideal time for listing photos and, if helpful, a virtual tour.
That investment matters because Zillow reports that 94% of buyers used at least one online resource while shopping for a home in 2024. For many buyers, your photos are the first showing.
Media and launch checklist
- Schedule professional listing photos
- Prepare for a virtual tour if it fits the property
- Make sure every room is photo-ready
- Double-check lighting, curb appeal, and cleanliness
- Confirm showing instructions and launch timing
Listing day and first weeks on market
Once your home is active, consistency matters. Zillow recommends keeping the home in a perpetual state of clean and being ready for short-notice showings.
You should also be ready to respond to market feedback quickly. If buyers consistently comment on price, condition, or presentation, early adjustments can be more effective than waiting too long.
Active listing checklist
- Keep surfaces clear and floors clean
- Be prepared for short-notice showings
- Stay flexible with showing times when possible
- Review buyer feedback promptly
- Discuss price adjustments early if activity is slow
What happens after you accept an offer
Going under contract is a milestone, but it is not the finish line. Zillow explains that buyers typically schedule inspections and appraisals during the pending period, and sellers should expect possible repair requests, concessions, or scheduling changes.
That is normal. The key is to stay responsive, keep documents organized, and work through requests with a clear negotiation strategy.
Texas disclosures to prepare
Texas sellers of most single-family homes should provide a Seller’s Disclosure Notice through TREC. The form covers material facts and the physical condition of the property as required by Texas law.
If your home was built before 1978, federal law also requires lead-based paint disclosures for most applicable properties. Texas also provides a related addendum for these transactions.
Disclosure checklist
- Complete the Texas Seller’s Disclosure Notice if required
- Review known property condition issues carefully
- Gather records that support repairs or replacements
- Prepare lead-based paint disclosures for most pre-1978 homes
- Ask questions early if you are unsure what applies
Closing week checklist
Closing usually takes planning, not just signatures. Zillow notes that closing is a fairly involved process that can take at least a couple of hours, so it helps to think ahead about logistics.
In the final days, make sure your move-out schedule, utility transfers, and key handoff are all coordinated. Last-minute scrambling can make an otherwise smooth closing feel stressful.
Final closing checklist
- Confirm your closing date and signing schedule
- Arrange utility shutoff and transfer timing
- Finish packing and moving logistics
- Leave behind keys, remotes, and access items as instructed
- Make sure agreed repairs or contract items are complete
- Bring required documents to closing
A simple Dallas seller timeline
| Timeline | Main focus |
|---|---|
| 3 to 4 months out | Plan your move, review proceeds, interview agents |
| 6 to 8 weeks out | Tackle repairs, declutter, clean, improve curb appeal |
| 1 month out | Remove extra furniture and personal items |
| 2 to 3 weeks out | Stage, gather documents, confirm pricing |
| 1 week out | Photos, virtual tour, final prep |
| Listing to contract | Showings, feedback, possible price adjustments |
| Under contract | Inspections, appraisal, disclosures, negotiations |
| Closing week | Moving, utilities, signing, key handoff |
Why realistic preparation wins
In Dallas, sellers are generally better served by a steady, informed approach than by rushing to market. Current data suggests many homes are still selling, but often on a timeline measured in weeks, with pricing and presentation playing a major role.
That is why the smartest prep plan is usually the simplest one. Start early, fix the issues that matter, present the home cleanly, use strong photography, and stay responsive once the home hits the market.
If you are getting ready to sell in Dallas, working with a team that knows how to plan, price, and negotiate can make the process feel much more manageable. When you are ready for a clear, local strategy, connect with Bauer Group for guidance tailored to your timeline and goals.
FAQs
When should you start preparing to sell a home in Dallas?
- A practical timeline is to start planning 3 to 4 months before listing, with active prep usually picking up about 6 to 8 weeks before launch.
What is the best month to list a home in Dallas?
- Zillow’s 2026 analysis points to the second half of April as a strong listing window in Dallas, though neighborhood conditions and market shifts can change the best timing.
How long does it take to sell a home in Dallas?
- Recent local data suggests many Dallas-area sales take weeks rather than days, with reported figures ranging from about 50 to 75 days on market depending on the dataset.
Do you need to renovate before selling a Dallas home?
- Not usually. NAR recommends focusing on meaningful repairs, cleaning, decluttering, and curb appeal instead of major remodels.
What disclosures do Texas home sellers need to provide?
- Most sellers of single-family homes in Texas should provide a Seller’s Disclosure Notice, and most homes built before 1978 also require lead-based paint disclosures.
What happens after your Dallas home goes under contract?
- Buyers typically complete inspections and an appraisal, and sellers should be prepared for repair requests, possible concessions, and final closing logistics.